
Shower heads are an essential part of our daily lives, providing us with a refreshing and rejuvenating experience every time we step into the shower. However, over time, these shower heads can become clogged with mineral deposits, leading to reduced water flow and a less satisfying showering experience. Therefore, it is crucial to clean and maintain your shower head regularly to ensure optimal performance. In this comprehensive guide, we will explore the various methods and techniques to keep your shower head clean and functioning at its best.
Why Cleaning and Maintaining Your Shower Head is Important
Cleaning and maintaining your shower heads is essential for several reasons. Firstly, a clean shower head ensures a consistent and powerful water flow, allowing you to enjoy a satisfying shower experience. Secondly, regular maintenance prevents the buildup of mineral deposits, which can clog the shower heads and reduce water pressure. Additionally, a clean shower head helps to eliminate bacteria and mold growth, ensuring a healthier environment in your bathroom. Lastly, by taking care of your shower heads, you can prolong its lifespan and avoid costly repairs or replacements in the future.
1) Gathering the Necessary Tools and Materials
Before diving into the cleaning process, it’s important to gather the necessary tools and materials.
Here’s a list of items you will need:
- Adjustable wrench or pliers
- Distilled white vinegar
- Small brush or toothbrush
- Plastic bag
- Cleaning cloth or sponge
- Mild soap or dish detergent
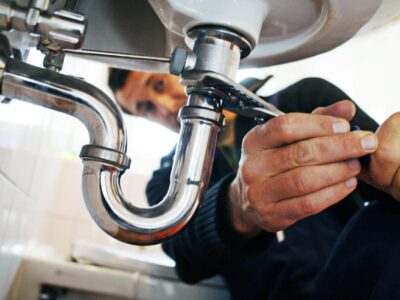
2) Removing the Shower Head
To begin the cleaning process, you’ll need to remove the shower heads from the shower arm. Follow these steps:
- Turn off the water supply to the shower.
- Using an adjustable wrench or pliers, loosen the nut connecting the shower heads to the shower arm.
- Once the nut is loose, unscrew the shower heads from the shower arm. Be careful not to damage the threads.
3) Soaking the Shower Head in Vinegar
Once you have removed the shower head, it’s time to clean it using vinegar. Vinegar is a natural cleaning agent that effectively removes mineral deposits and kills bacteria. Follow these steps:
- Fill a plastic bag with distilled white vinegar.
- Submerge the shower heads in the vinegar-filled bag, ensuring that the entire head is covered.
- Secure the bag around the shower heads using a rubber band or zip tie.
- Allow the shower head to soak in the vinegar for at least 1 hour, or overnight for stubborn mineral deposits.
4) Scrubbing and Rinsing the Shower Head
After the shower head has soaked in vinegar, it’s time to scrub away any remaining mineral deposits and rinse it thoroughly. Follow these steps:
- Remove the shower head from the vinegar-filled bag.
- Using a small brush or toothbrush, scrub the surface of the shower heads to remove any loosened mineral deposits.
- Rinse the shower heads with clean water to remove any vinegar residue.
- Inspect the spray nozzles to ensure they are clear of any debris. Use a toothpick or a pin to unclog any blocked nozzles.
5) Reattaching the Shower Head
Now that your shower heads is clean, it’s time to reattach it to the shower arm. Follow these steps:
- Apply a small amount of plumber’s tape to the threads of the shower arm to create a watertight seal.
- Screw the shower heads back onto the shower arm, ensuring it is tightly secured.
- Use an adjustable wrench or pliers to tighten the nut connecting the shower heads to the shower arm.
Conclusion
Cleaning and maintaining your shower heads is crucial for ensuring optimal performance and a satisfying showering experience. By following the steps outlined in this guide, you can effectively remove mineral deposits, eliminate bacteria, and prolong the lifespan of your shower head. Remember to clean your shower head regularly and incorporate these maintenance tips into your routine to keep it in excellent condition. With proper care, your shower head will continue to provide you with a refreshing and invigorating shower for years to come.